University Research
In July 2011 I submitted my research masters degree thesis, the purpose of which was to find out
for a major manufacturer of Rapid Prototyping machines – if the plastics they commonly used
could be made to work to produce investment casting patterns. The research proved they could
not be made to work with industrial standard practice methods of making investment castings.
However in the process, I learned how to make investment castings, design moulds and get into
Rapid Prototyping as a subject.
Ultimaker Purchase
I purchased an Ultimaker 3D printer in August 2012, and started wondering if I could make casting
patterns with the PLA plastic it uses. Before proceeding some tests were in order, back at the University
Labs.
With investment castings its critical that the pattern burns away fully, and doesn’t leave behind loads of
ash and rubbish in the mould cavity. You can try to remove it afterwards, but its not good to rely on getting
it all out with a very complex mould.
Industry specialists doing investment castings use special investment casting wax, which is chemically developed
in order to have very low thermal expansion, low melting point and a very low ash content. The mould is basically a
thin ceramic shell, which is very brittle. If the pattern inside the mould expands too much before it melts, the ceramic
shell will crack (hence the requirement for low expansion, low melting point and low ash content).
So how much ash does PLA have ?
Investment casting wax = 0.02 > 0.05 % by weight ash
Nylon 12 = 2% by weight ash
PLA = 0.05% ash
So the answer is that PLA is looking ideal so far as a candidate for investment casting patterns. The glass transition
temperature (Tg) is also very low. (Tg is the softening temperature at which a materials without a definite liquification point
is described).
Casting Procedure
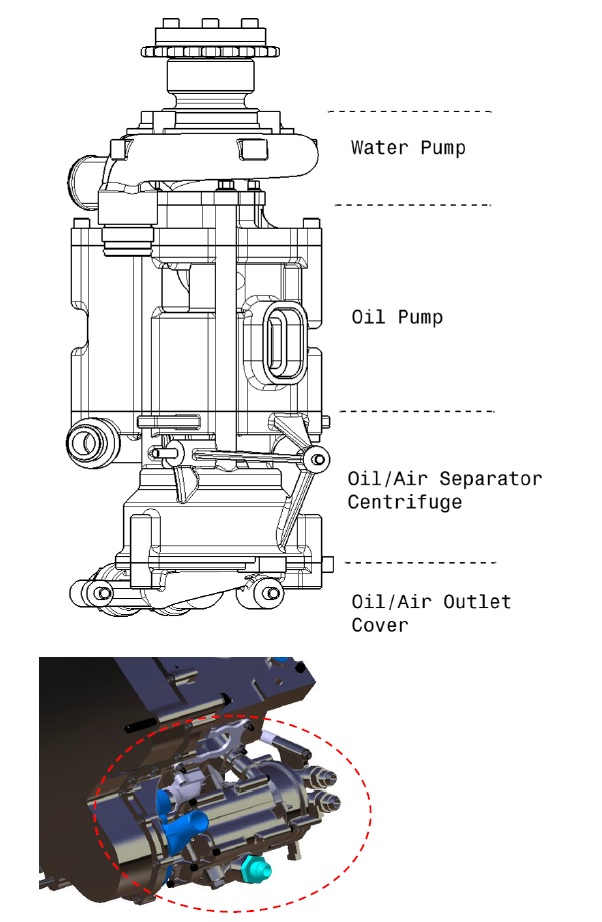
So we are going to cast something quite challenging – some racing engine parts. Pump components
to be specific. Here I will be showing the casting of a centrifuge housing (the centrifuge sits at the back of the
oil pump and its job is to separate oil and air, aerated oil = a blown engine).
Shrinkages
So first thing is first…since we want a part of a certain size, and we are dealing with three sets of solidification we must
measure some shrinkages. We have:
3D Printing Shrinkage (PLA cools from 220 to 20 deg C) = 0.5% Shrinkage
Mould material Shrinkage (mould looses its water content) = 0.5 %
LM25 Liquid metal shinkage (720 Degrees C to 20 Degrees C) = 1.2%
So in other words your CAD model needs to be 0.5+0.5+1.2% bigger than your final object.
What do I need to make castings ???
1) A 3D Printer
2) CAD Software (I used CATIA, but Solidworks would also be good)
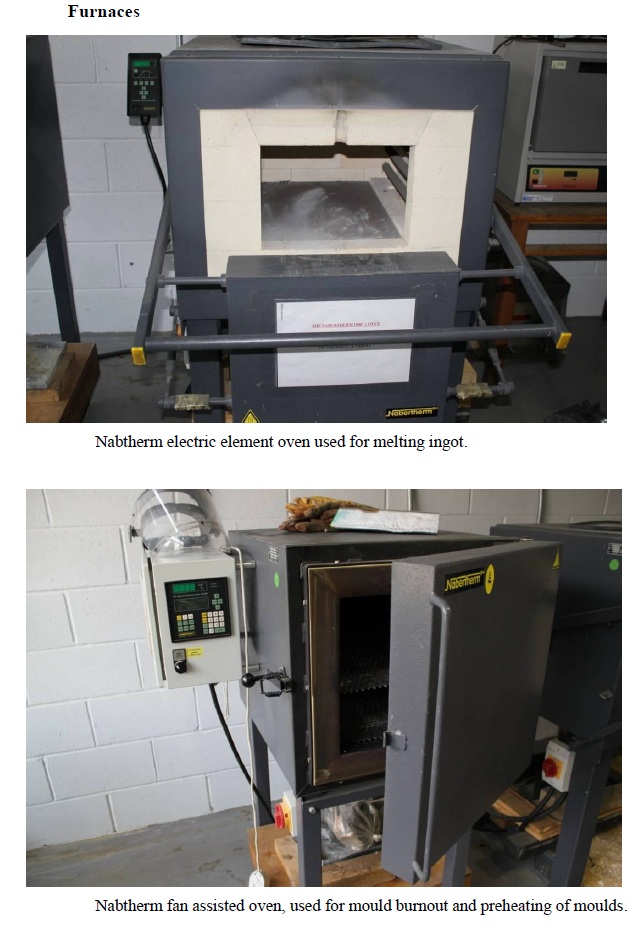
3) Ideally two computer controlled electric ovens (you CAN do it with just one gas burner….but not very well).
4) A graphite melting crucible (these pictures are from very early days with my own handmade stainless steel crucible)
5) Casting ingot (despite what some people will tell you on youtube, you CANNOT make good castings from old coke cans, the ratio of mass to surface area is such
that you will end up with 50% oxide and 50% metal..fine if you want to cast door-stops)
6) Degassing and flux powders: EXF 326 and ECOGAS 16 (avaialble from http://www.artisanfoundry.co.uk/ )
7) Assuming you dont want to cast door-stops and paperweights, you are going to need to be able to check metal and mould temperatures.
so a thermocouple reader + KType thermocouple is going to be needed. Metal must be poured at a certain temperature in to a mould at
a certain temperature or you will get worthless castings. They might look ok, but mechanically will be about as good as hard bath-soap.
So to do this with ease, two ovens are needed. One to preheat the mould, while the other melts the metal. Of course the metal could be melted
in a gas fired kiln. But the mould burnout cannot be done sucessfully with large moulds because the heating gradient needed to
avoid thermally shocking the mould needs a computer controller to work properly.
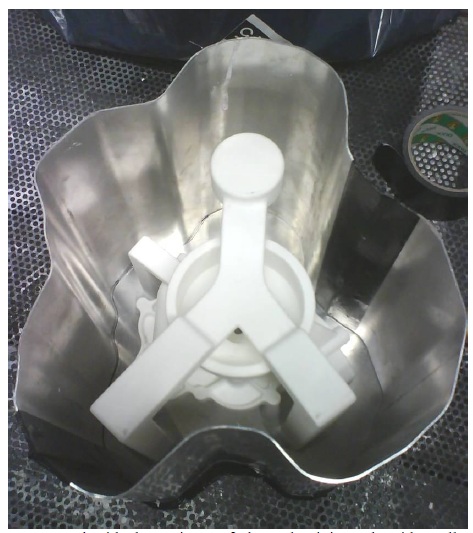
Next is to print a pattern
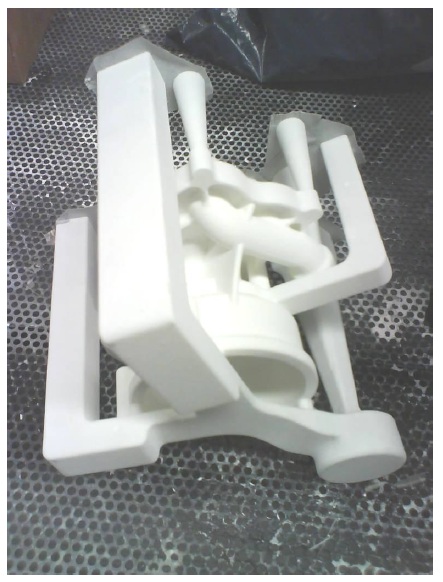
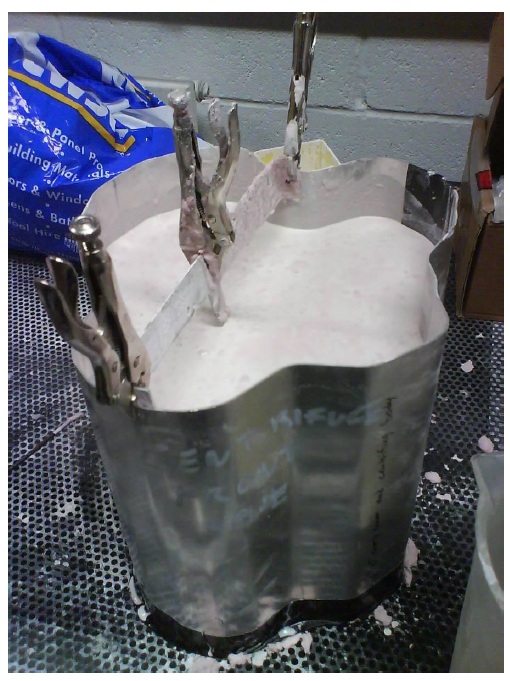
Now you need a mould box, to pour the liquid mould mixture into. Your mould mixture
should be 49% by volume high strength plaster of paris, 49% 180/220 fused alumina
and 2% short strand glass fibres (suggest 4 to 5mm length)
So now the mould mixture is poured into the mould box. You need to be
careful to seal your pattern. Water ingress will destroy the mould cavity when
it comes to burnout as the cavity edges will be like foam.
Now you need to burn out your pattern. This needs to be done over 24hours with a really big
pattern like this one. Otherwise you will crack it. I ramp up to 600 Deg C over 12 hours then hold
for 6 then ramp down to ambient. This program is dependant basically on mould volume (so really tiny moulds
can be done almost just by sticking them in a preheated ovem).
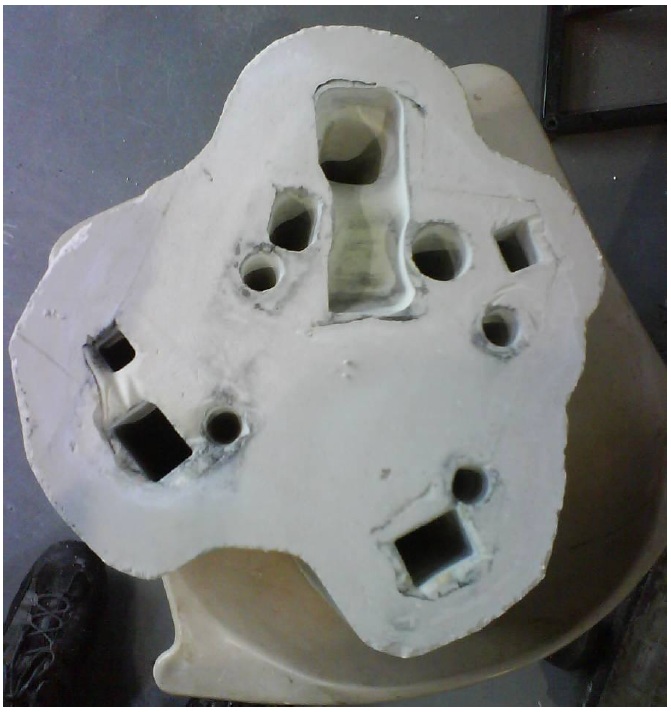
Next we need to clean the mould out, there can be small pieces of mould broken off from the lip
at the top or a bit of ash remaining. So cool the mould, remove and clean with low pressure air
and turning the mould to the inverted attitude.
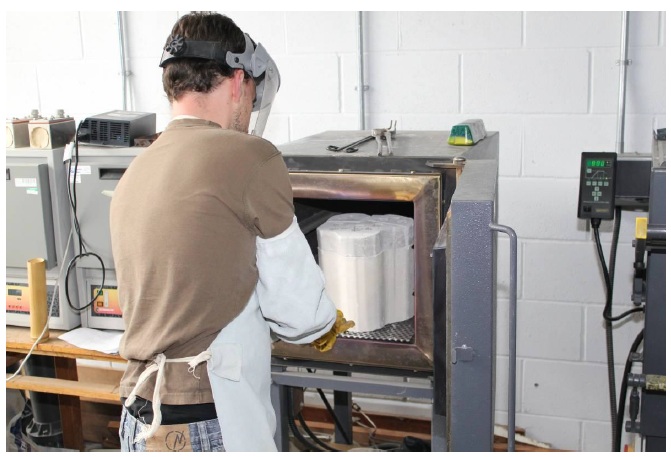
Mould being placed back in the oven for pre-heating
Now preheat your mould to 300 Degrees C. Exactly how much you need
depends on the wall thickness of the part you want to cast. If its all comfortably over 4mm
you might be able to suceed with the mould at room temp. However if you
have some small areas at perhaps 2 or 2.5mm preheating is essential. More than
300 Degrees will produce an oxidated casting as the metal is liquid for too long
and will oxidise readily.
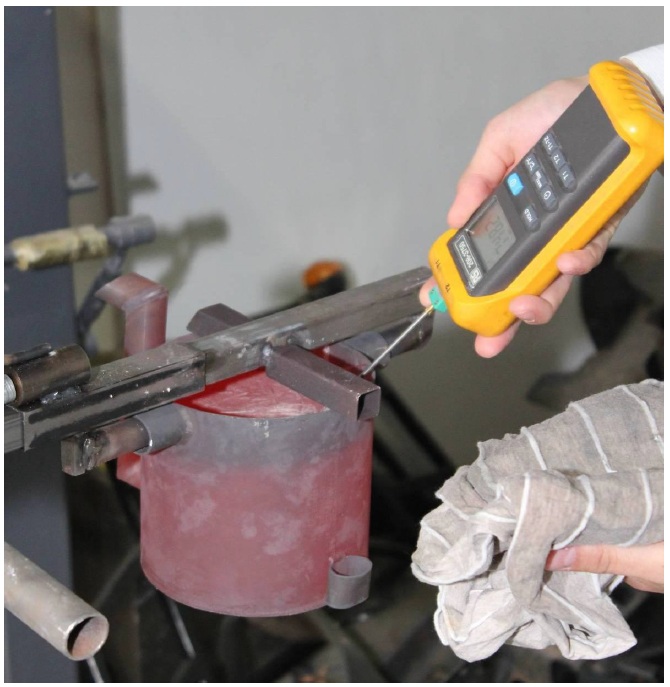
Checking metal temperature before pouring
Now check the metal temp, for LM25 it should be poured at 720 Deg C. Pour lower than this and it might
not flow properly, much higher and the mechanical properties will drop as the oxidation increases.
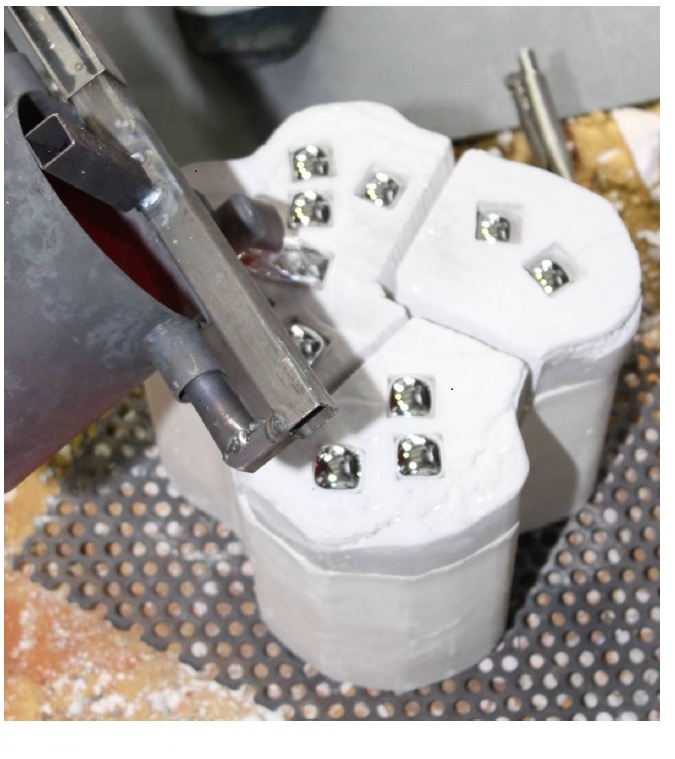
Mould being poured, its important to pour quickly and let the sprue neck regulate the flow. Pouring
too slowly will just give failure to fill as the metal cools quickly.
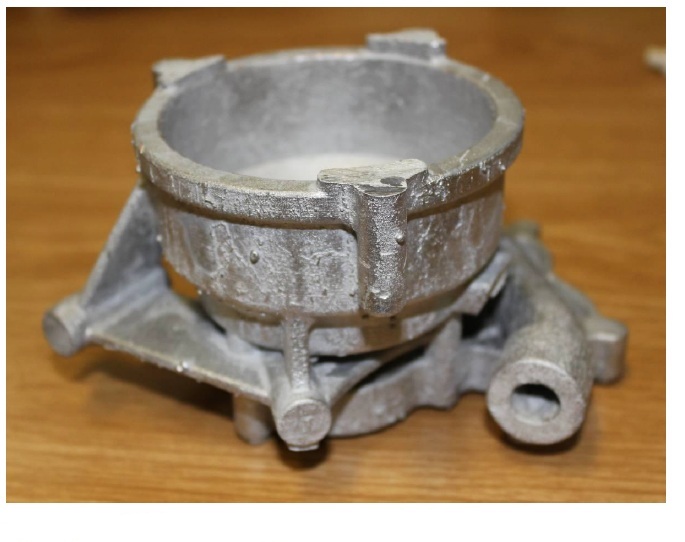
The finished casting with risers, runners, gates and vents removed. At this stage in experimentation
a vacuum chamber was not being used so this results in small “bobbles” on the surface of the casting
which are the result of air bubbles in the liquid mould mixture before curing.
To cure this you need a vacuum chamber. An approximation can be made with
a vibrating table, but the table will not be able to dislodge air pockets trapped in
return pockets in the pattern, only dislodge bubbles clinging to the sides and top.
